OMG. That was the first thing that came out of my mouth when I tasted this, until Andy told me to never talk like that again. All language aside, this was the first meal I've cooked that I thought actually tasted almost restaurant quality. Andy gave it a 5 out of 10, and said that it was "too bland" looking, but I've come to think we have different palates. I thought it was awesome, and I was equally proud that I finally conquered how to make a roux. I had to dump out my first attempt tonight because it was not thickening like it was supposed to. I was following a Rachael Ray recipe, but have you ever seen her actually measure anything? She'll say she's adding a tablespoon of something, but it really looks like half a cup! Anyway, the recipe calls for a tablespoon of flour, and since I've never seen her use an actual measuring spoon, the second time around I used her method of using a large 'eating' tablespoon and what do you know, it worked!
I served this with some frozen cheese ravioli, but I think it would be better with regular pasta. It was almost too much of the same consistency/flavor going on. This would also be really good on top of veggies.
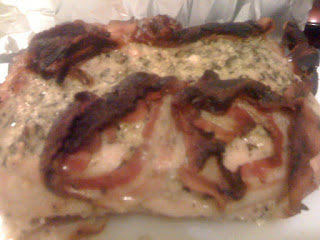
Chicken with Asiago Sauce
Source: Adapted from Rachael Ray
Serves 4
Ingredients:
4 boneless, skinless chicken breasts
2 Tbls olive oil
salt, pepper, garlic powder
2 Tbls butter
1 heaping Tbls flour
1 1/2 cup milk
1 cup Asiago cheese, grated
1/8 tsp Thyme, chopped
salt and pepper to taste
Directions:
Heat oil over medium heat in skillet; season chicken with garlic powder, salt and pepper. Add to hot pan and cook 6-8 minutes on each side, until juices run clear.
While chicken cooks, melt butter over medium heat in small saucepan. Whisk flour into melted butter; cook for 1 minute; roux should be thick, if not add a bit more flour. Whisk in milk and cook to thicken, about 5 minutes. Stir in cheese and thyme; add salt and pepper to taste.
Serve chicken breasts topped with cheese sauce.
Enjoy:)